A practical guide for orthodontists, clinics and laboratories
In-house clear aligners: the complete production workflow
An in-house workflow gives a practice control over the digital setup, timing and laboratory process. This guide follows the sequence from diagnostic records and treatment planning to a finished appliance and documented quality control.
1. Records and digital setup
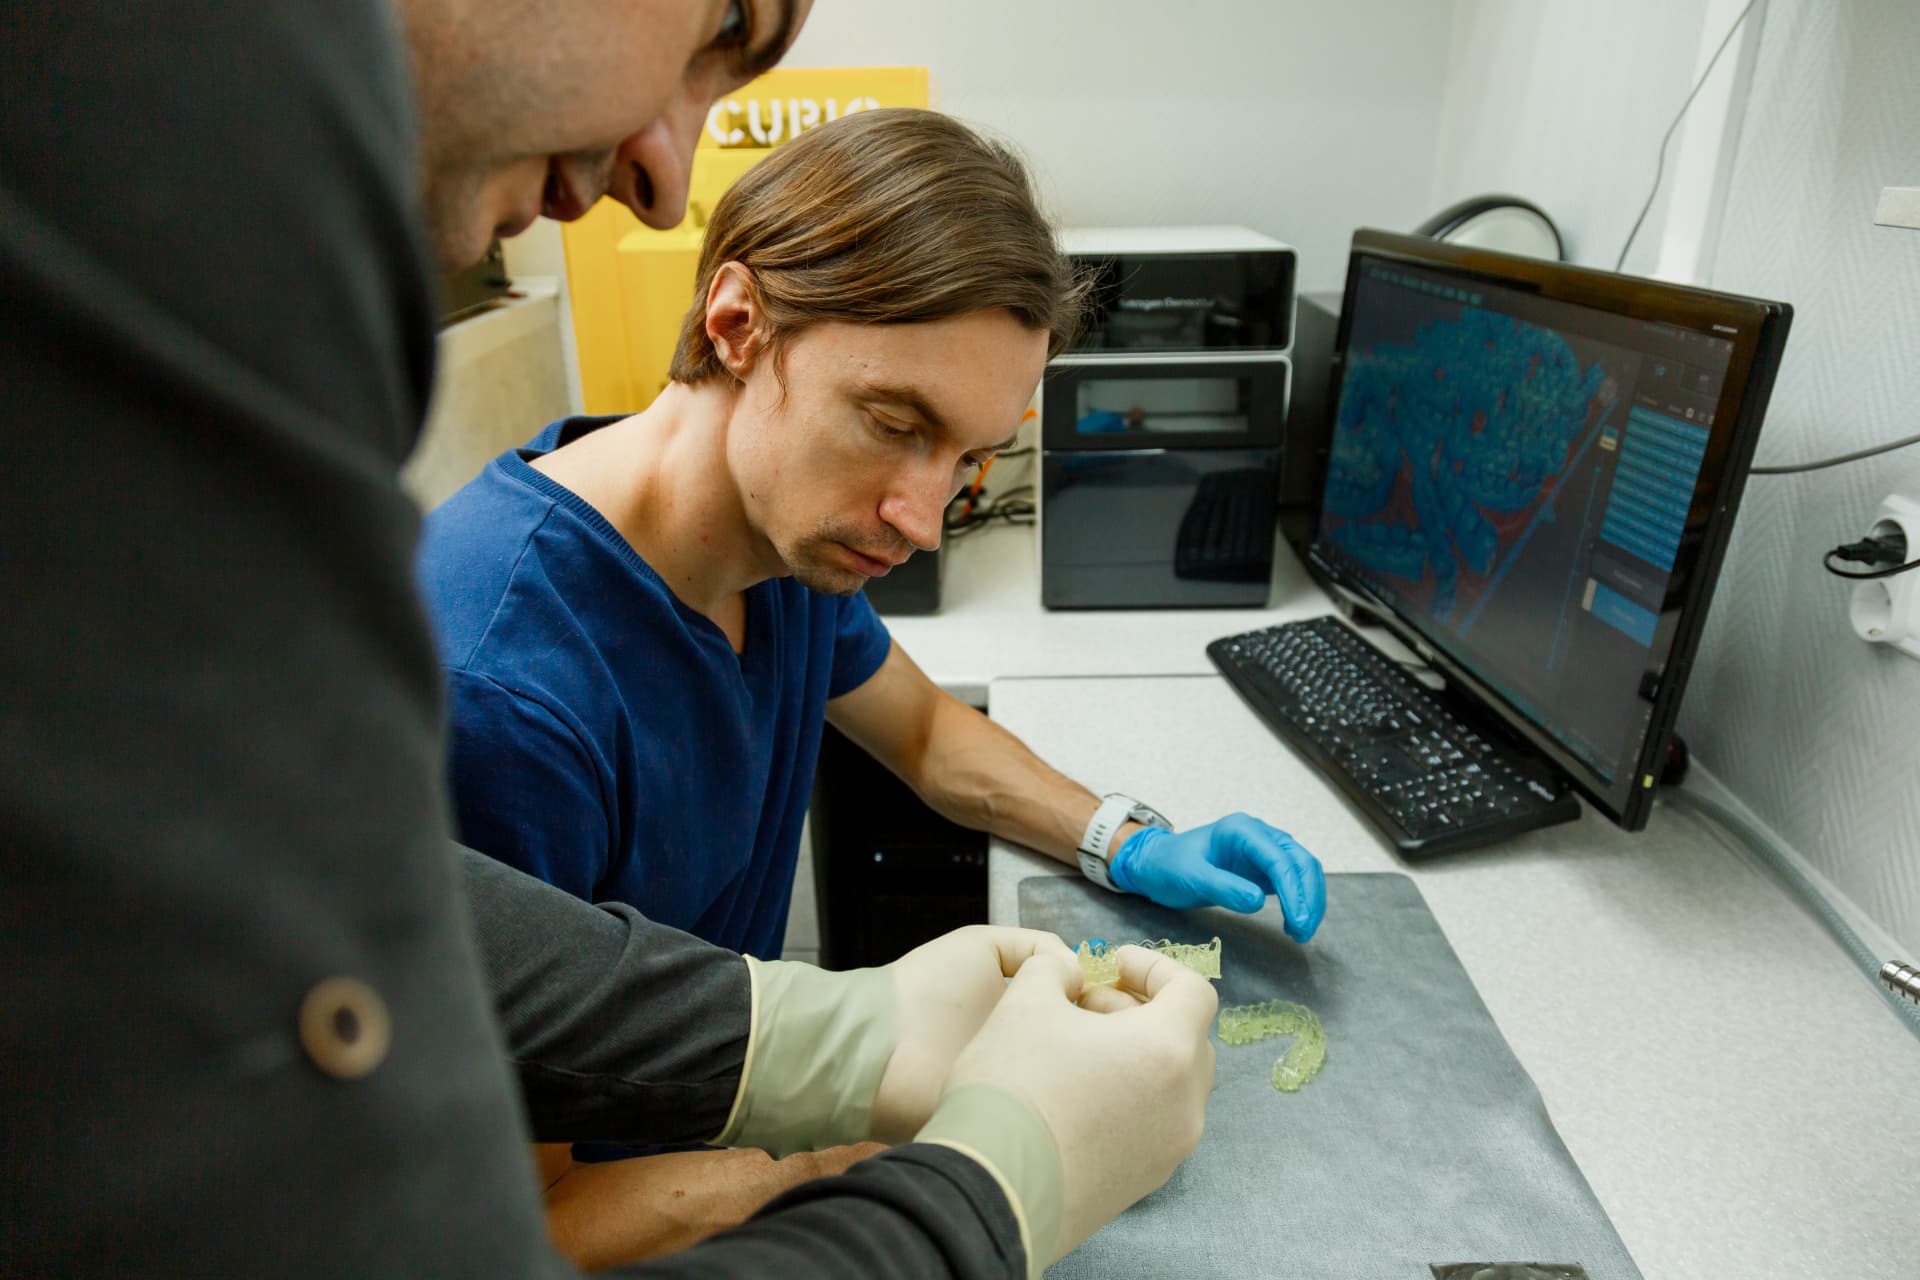
Begin with accurate upper and lower scans, a registered bite, photographs, radiographs and clear treatment objectives. The clinician plans staging, IPR, attachments, anchorage and auxiliary mechanics, then reviews the sequence and occlusion before approval.
2. Staged STL files and 3D printing
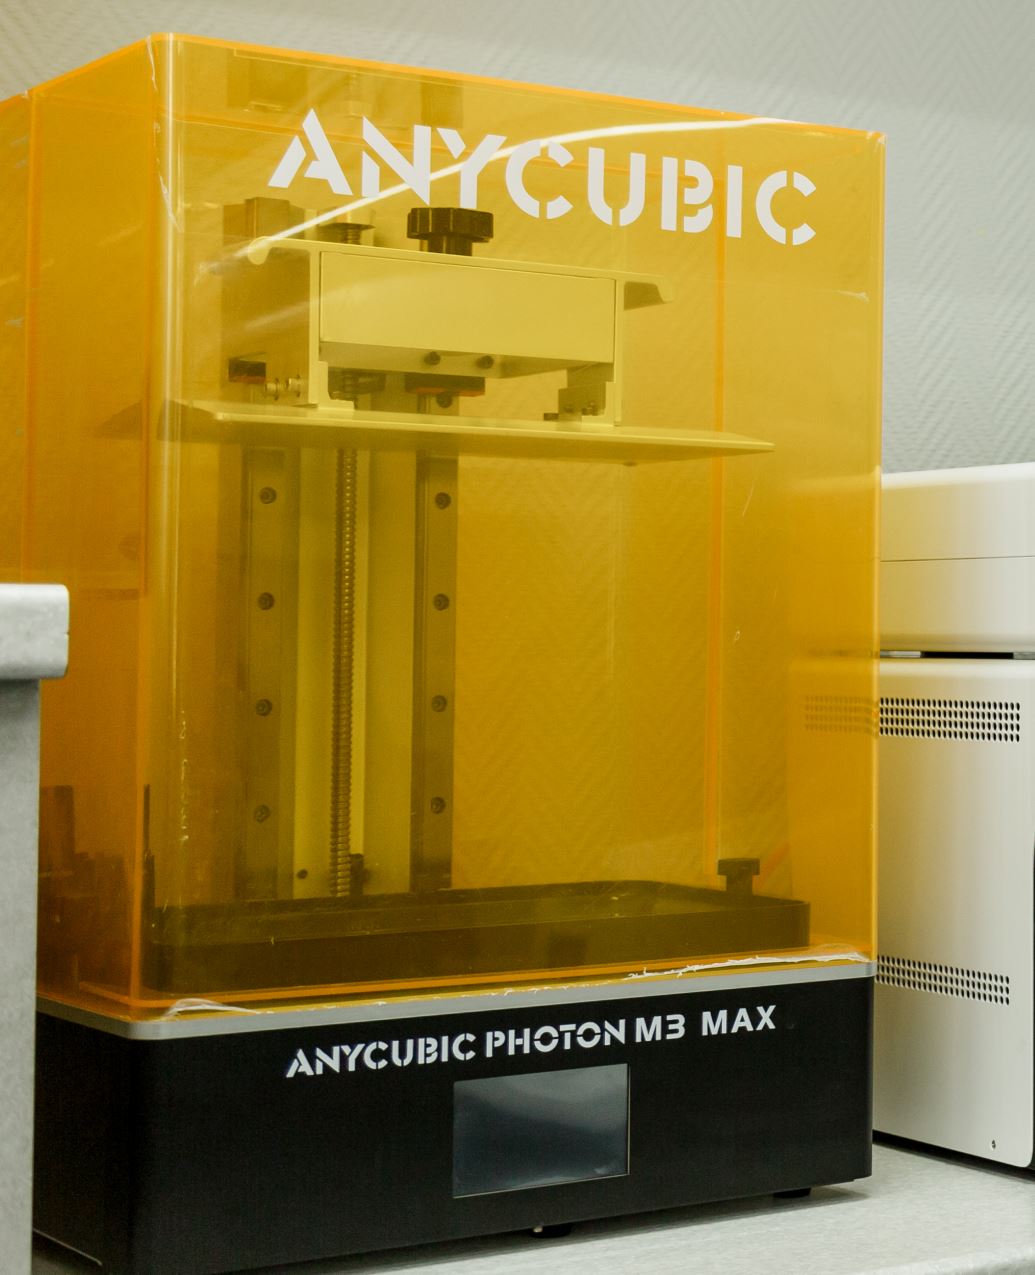
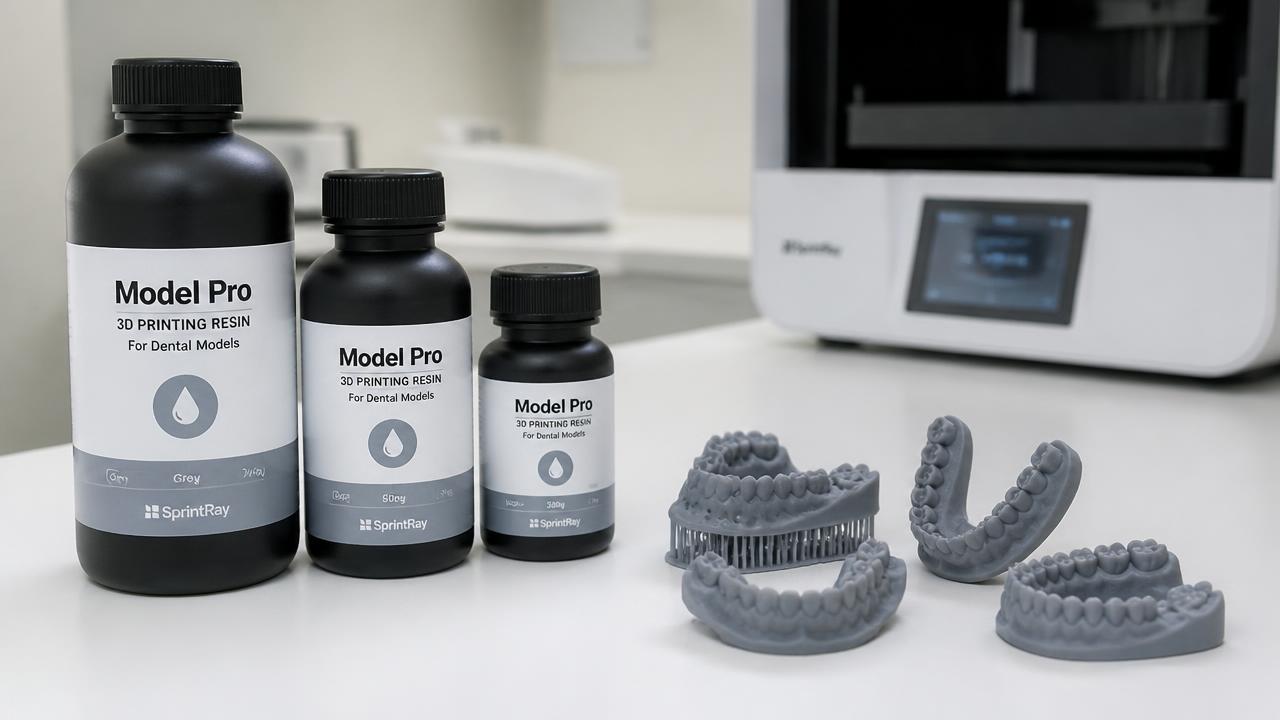
Approved stages are exported as printable models. Orientation, supports, print parameters, washing, post-curing and geometric checks all affect accuracy. Follow validated settings for the selected printer, resin and post-processing equipment.
3. Thermoforming and trimming
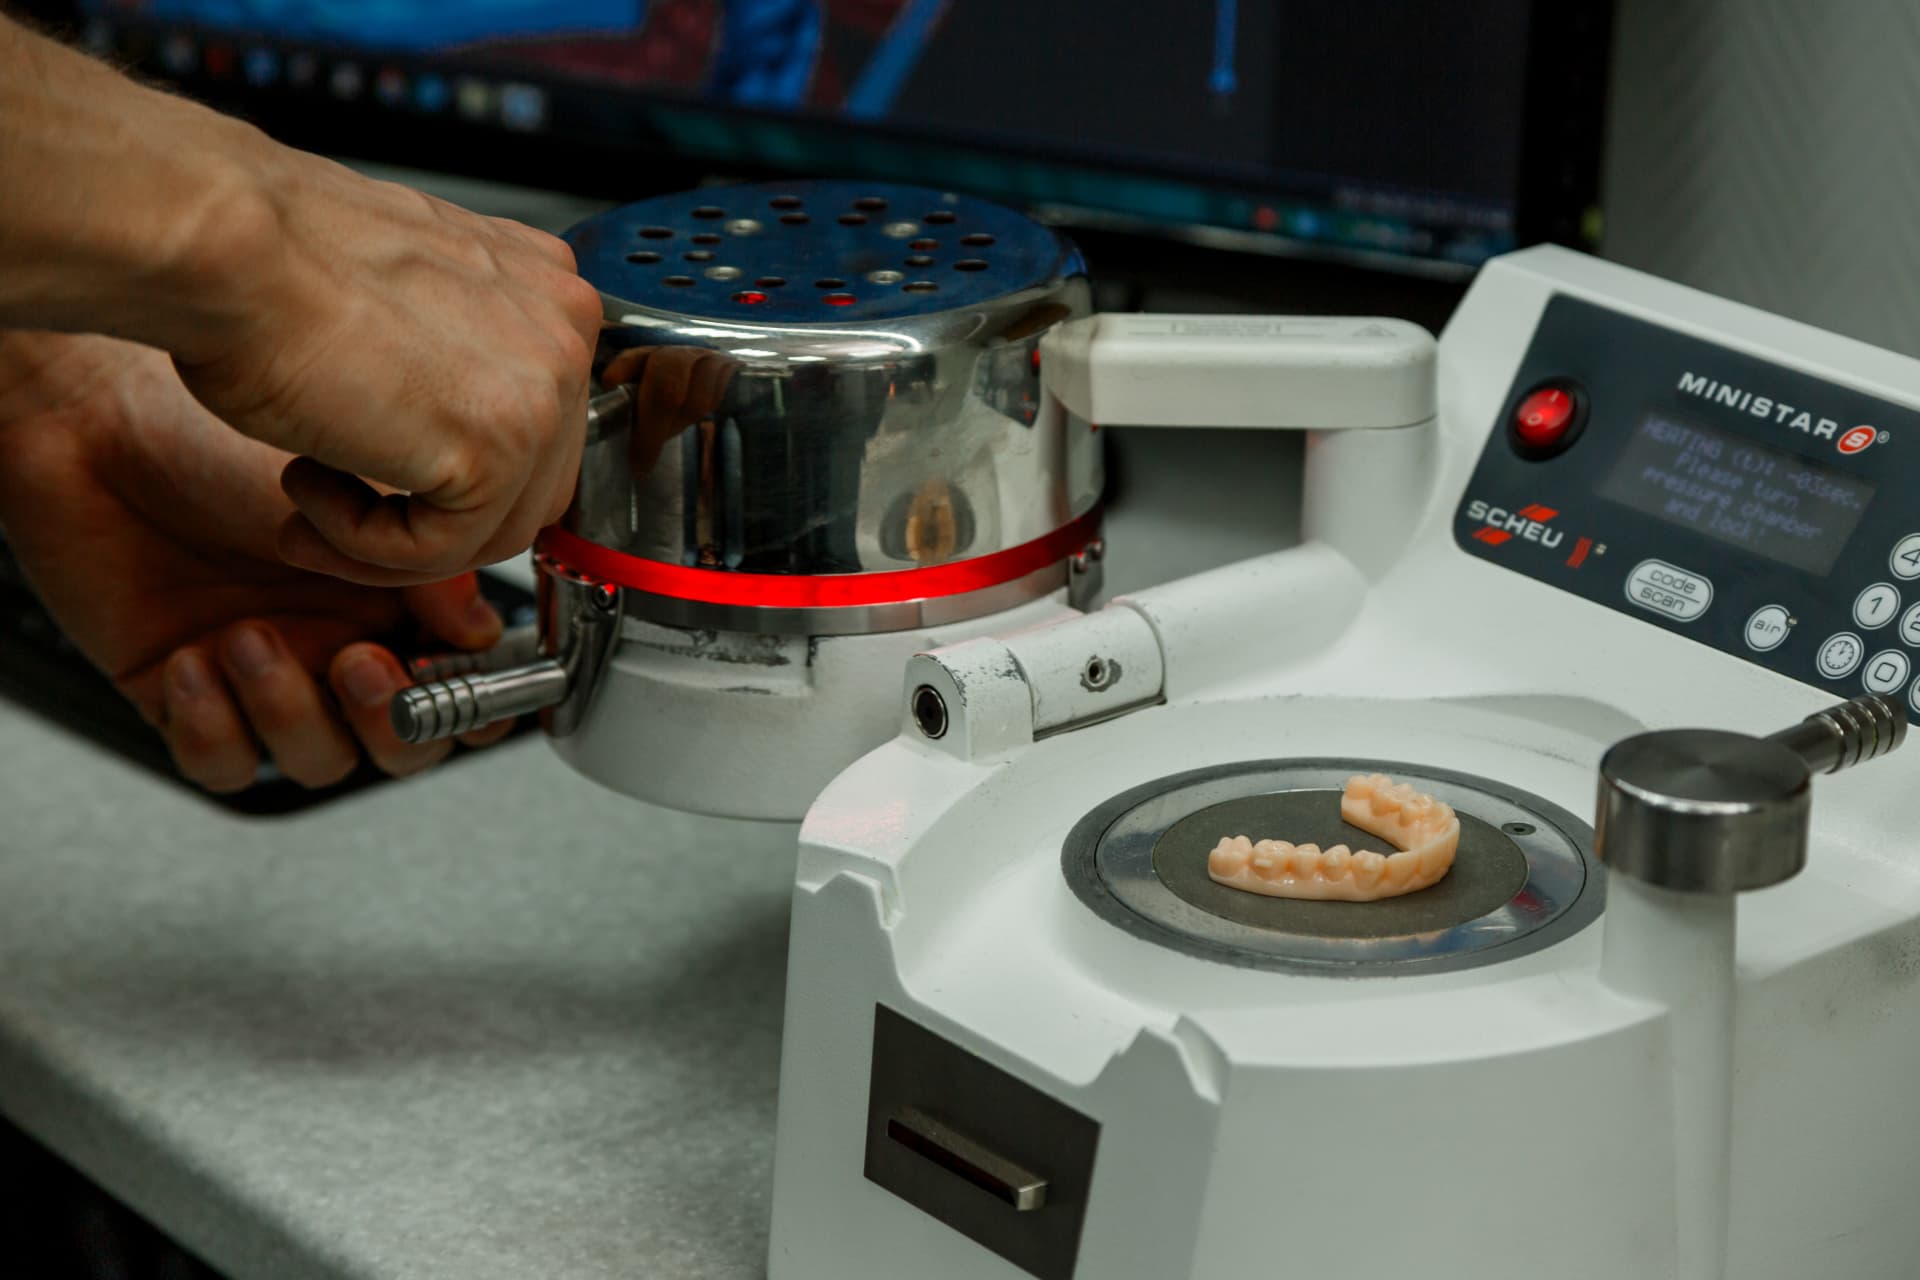
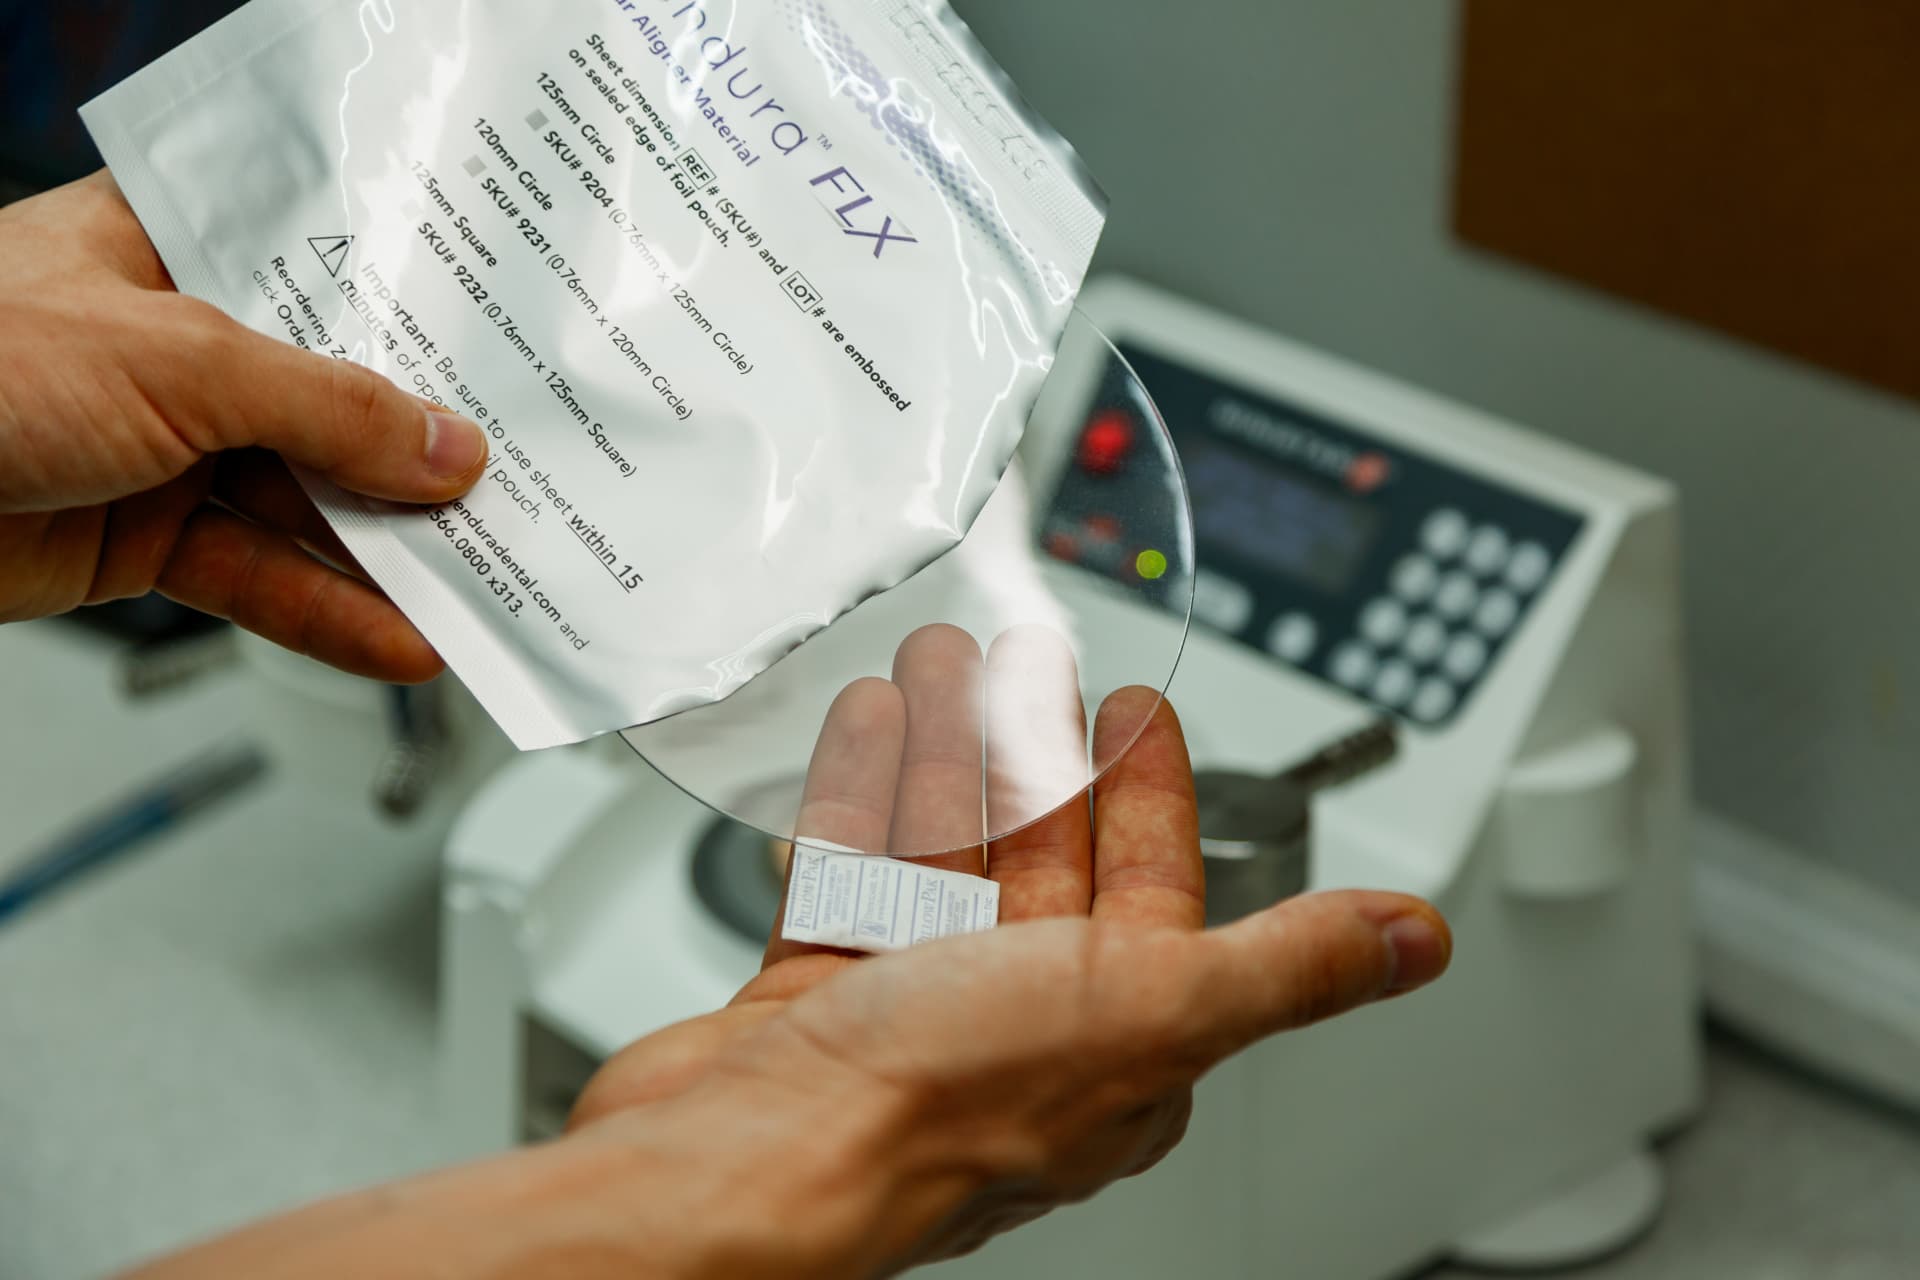
Material selection, heat cycle, pressure or vacuum and cooling influence fit. After forming, separate the appliance carefully, trim to the chosen margin, polish the edges and remove areas that could irritate soft tissue.
4. Quality control and delivery
Confirm the stage number, transparency, thickness, absence of distortion and fit on the reference model. Traceable labelling, packaging and stage records help prevent mix-ups and reveal the source of a production error.
Equipment for an in-office aligner laboratory
A typical system includes a computer for 3D planning, a scanner or validated STL intake, a 3D printer, wash and post-curing equipment, a thermoformer, cutting and polishing tools. Selection depends on production volume, material compatibility and the medical-device requirements that apply in your jurisdiction.
Design in-house or outsource the setup?
Internal design provides maximum control but requires clinician time and planning expertise. A hybrid workflow keeps fabrication in the practice while an experienced orthodontic planner prepares the digital setup. Before printing, an existing plan can also receive an independent orthodontist setup review.
Take the Maestro 3D and in-house aligner course · Outsource setup design and staged STL files · Explore the Maestro 3D workflow
Frequently asked questions
What are in-house clear aligners?
In-house production means that a clinic or laboratory controls treatment planning or receives an approved setup, prints staged models, thermoforms, finishes and quality-checks the appliances.
What equipment is required?
A typical workflow uses a capable computer, treatment-planning software, a 3D printer, wash and post-curing equipment, a thermoformer, finishing tools and a documented quality-control process. The exact choice depends on materials and production volume.
Can I outsource only the digital setup?
Yes. A clinic can outsource treatment planning and receive approved staged STL files while keeping model printing and aligner fabrication in-house.
Where can I learn clear aligner design?
The Clear Aligners course covers Maestro 3D, biomechanics, movement protocols and the complete laboratory workflow through practical assignments.
This professional education material does not replace the treating clinician’s judgement, equipment manufacturers’ instructions or applicable regulatory requirements.