Clear Aligners

Knowledge Base · Client Portal

In-House Clear Aligner Fabrication Guide After Approval of the Digital Treatment Plan

Step-by-step laboratory protocol: model preparation, 3D printing, thermoforming, finishing and treatment monitoring.

You have received an approved digital treatment plan (digital setup) together with the STL files of the arch models for every stage.

This guide will walk you through fabricating the aligners in-house, in your clinic or dental laboratory.

Stage 01

Model preparation prior to printing

Aligner fabrication is based on the STL arch models supplied for each stage of the treatment plan.

Verify before printing:

  • mesh integrity — no errors or self-intersections
  • no holes in the mesh
  • correct 1:1 scale
  • correct arch orientation

Print preparation in ChiTuBox

Importing the STL, orienting the model, adding supports and setting exposure parameters.
Stage 02

3D printing hardware

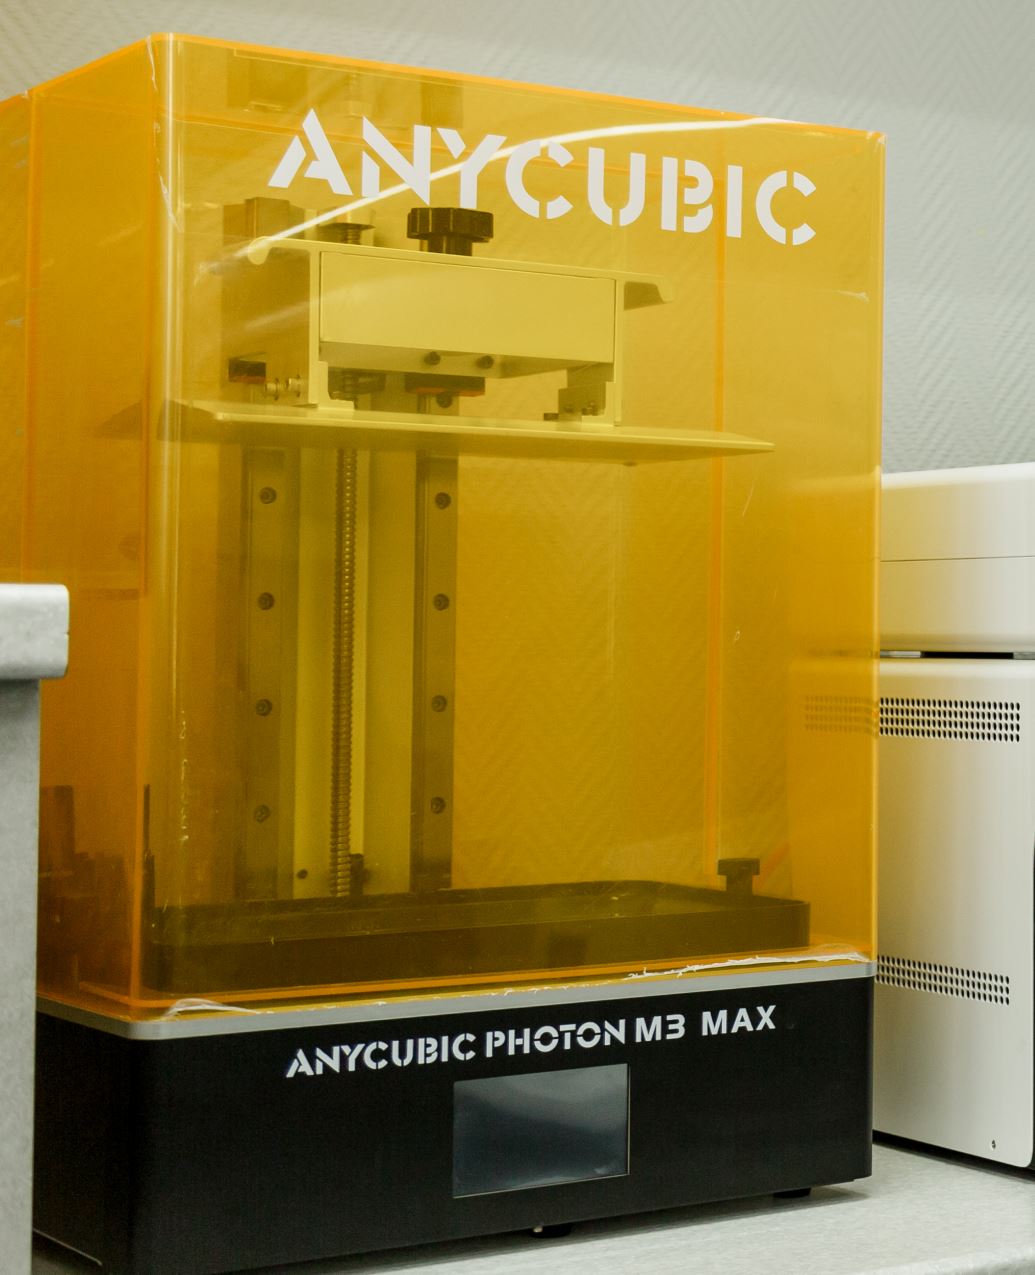
Suitable photopolymer (resin) 3D printers:

  • LCD
  • DLP
  • SLA

Not recommended:

  • FDM (filament) printers

For most dental laboratories, LCD printers offer the best balance of cost, build speed and model accuracy.

Anycubic Photon Mono

LCD

Elegoo Mars / Saturn

LCD

Phrozen Sonic Mini

LCD

Other LCD resin printers

monochrome LCD

3D printing hardware
LCD printer

Stage 03

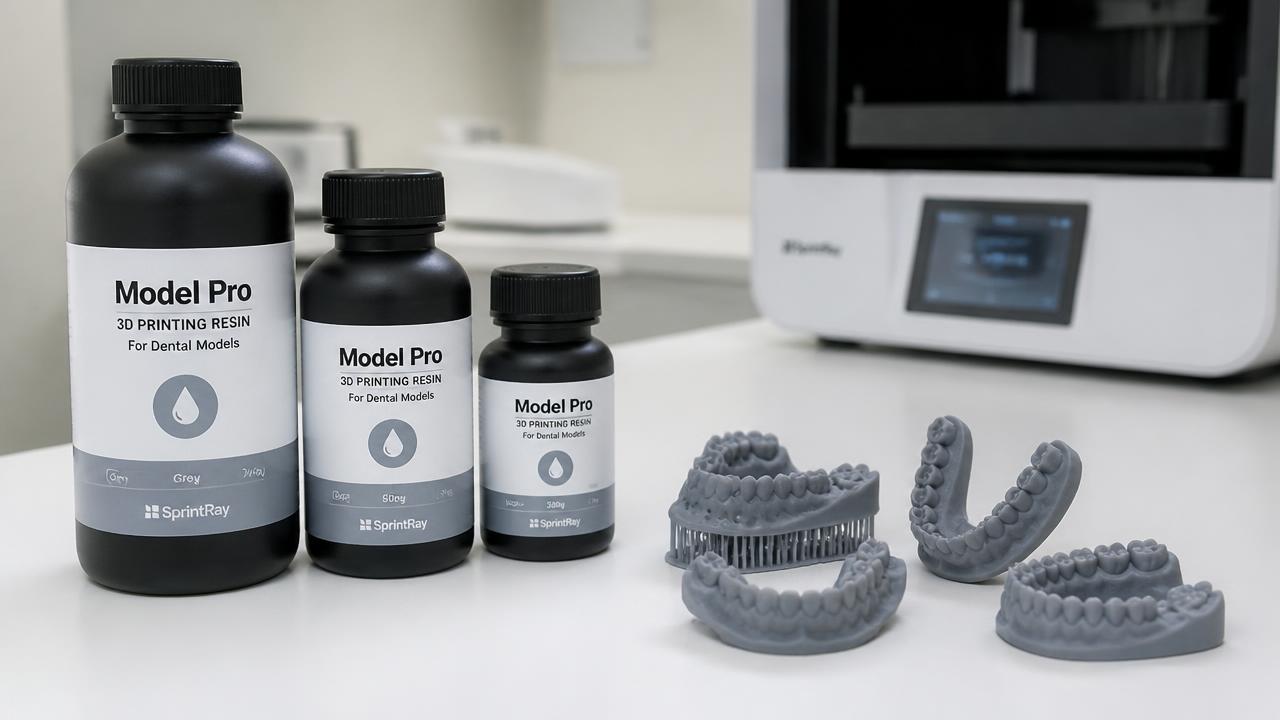
Resins for printing arch models

Suitable materials:

  • high-quality dental model photopolymer resins
  • for example, Anycubic Model Resin

Material requirements:

  • dimensional accuracy
  • minimal polymerization shrinkage
  • high detail reproduction

Post-processing after printing:

  1. 1Wash the model in isopropyl alcohol (IPA), or use a water-washable resin.
  2. 2Final post-curing (UV polymerization).
  3. 3Removal of support structures.
  4. 4Inspection of the model surface.
Resins for printing arch models
Dental model resin and printed arch models

Stage 04

Blocking out undercuts and preparing the model

Pronounced undercuts must be blocked out and the model finished before the aligner is thermoformed.

Pay particular attention to:

  • interproximal (interdental) spaces
  • retentive (undercut) areas
  • implants and abutments
  • edentulous spaces (missing teeth)

Before thermoforming:

  • smooth the model surface
  • eliminate sharp edges and irregularities
  • trim and prepare the model base
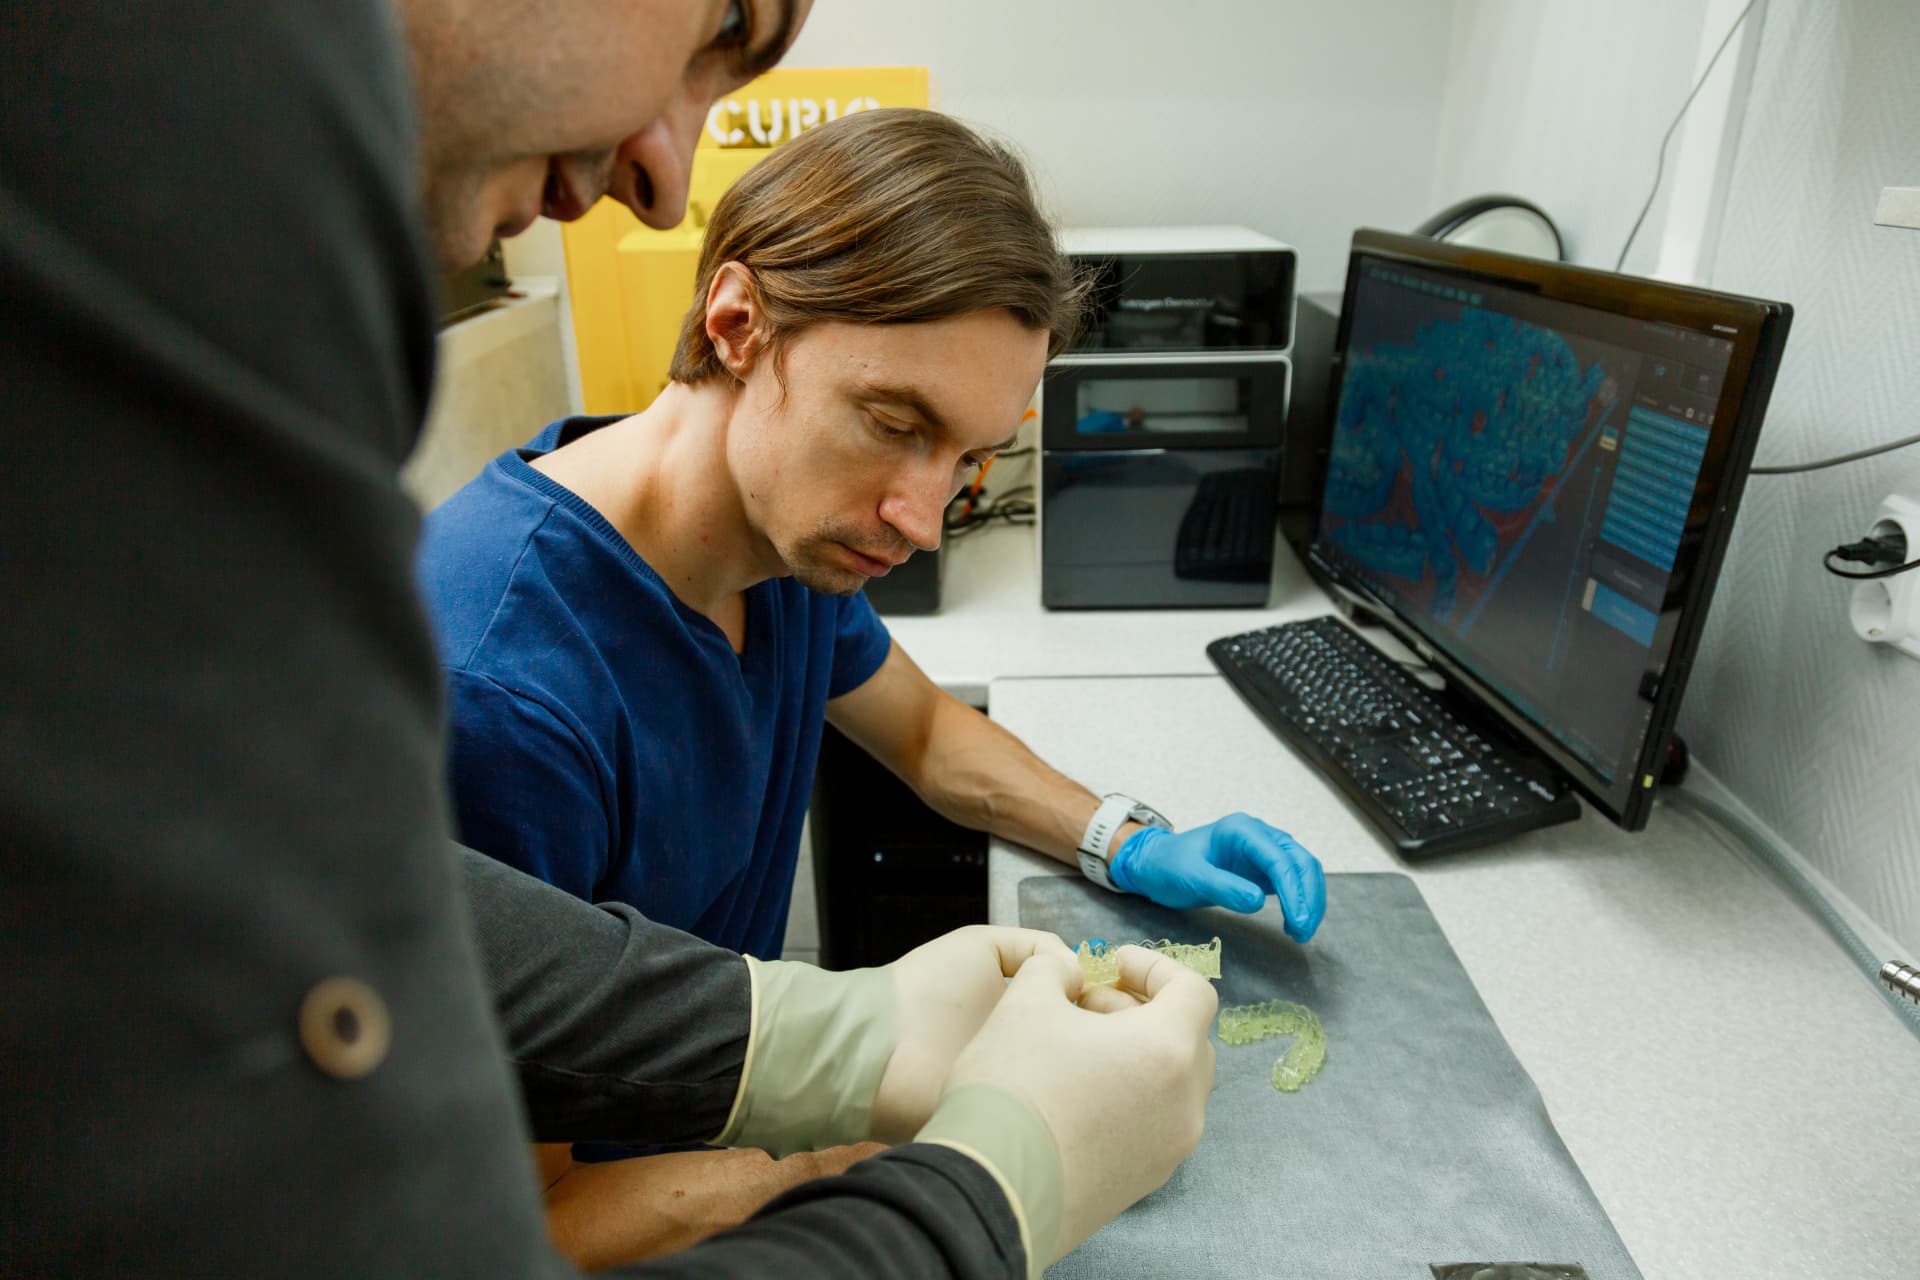
Blocking out undercuts and preparing the model
Fit-checking finished aligners on the model in the laboratory

Blocking out undercuts on the printed models

Block-out materials and technique that preserve the accuracy of aligner fit.

Model finishing before thermoforming

Preparing the model base and gingival margins before pressure forming.

Stage 05

Thermoforming

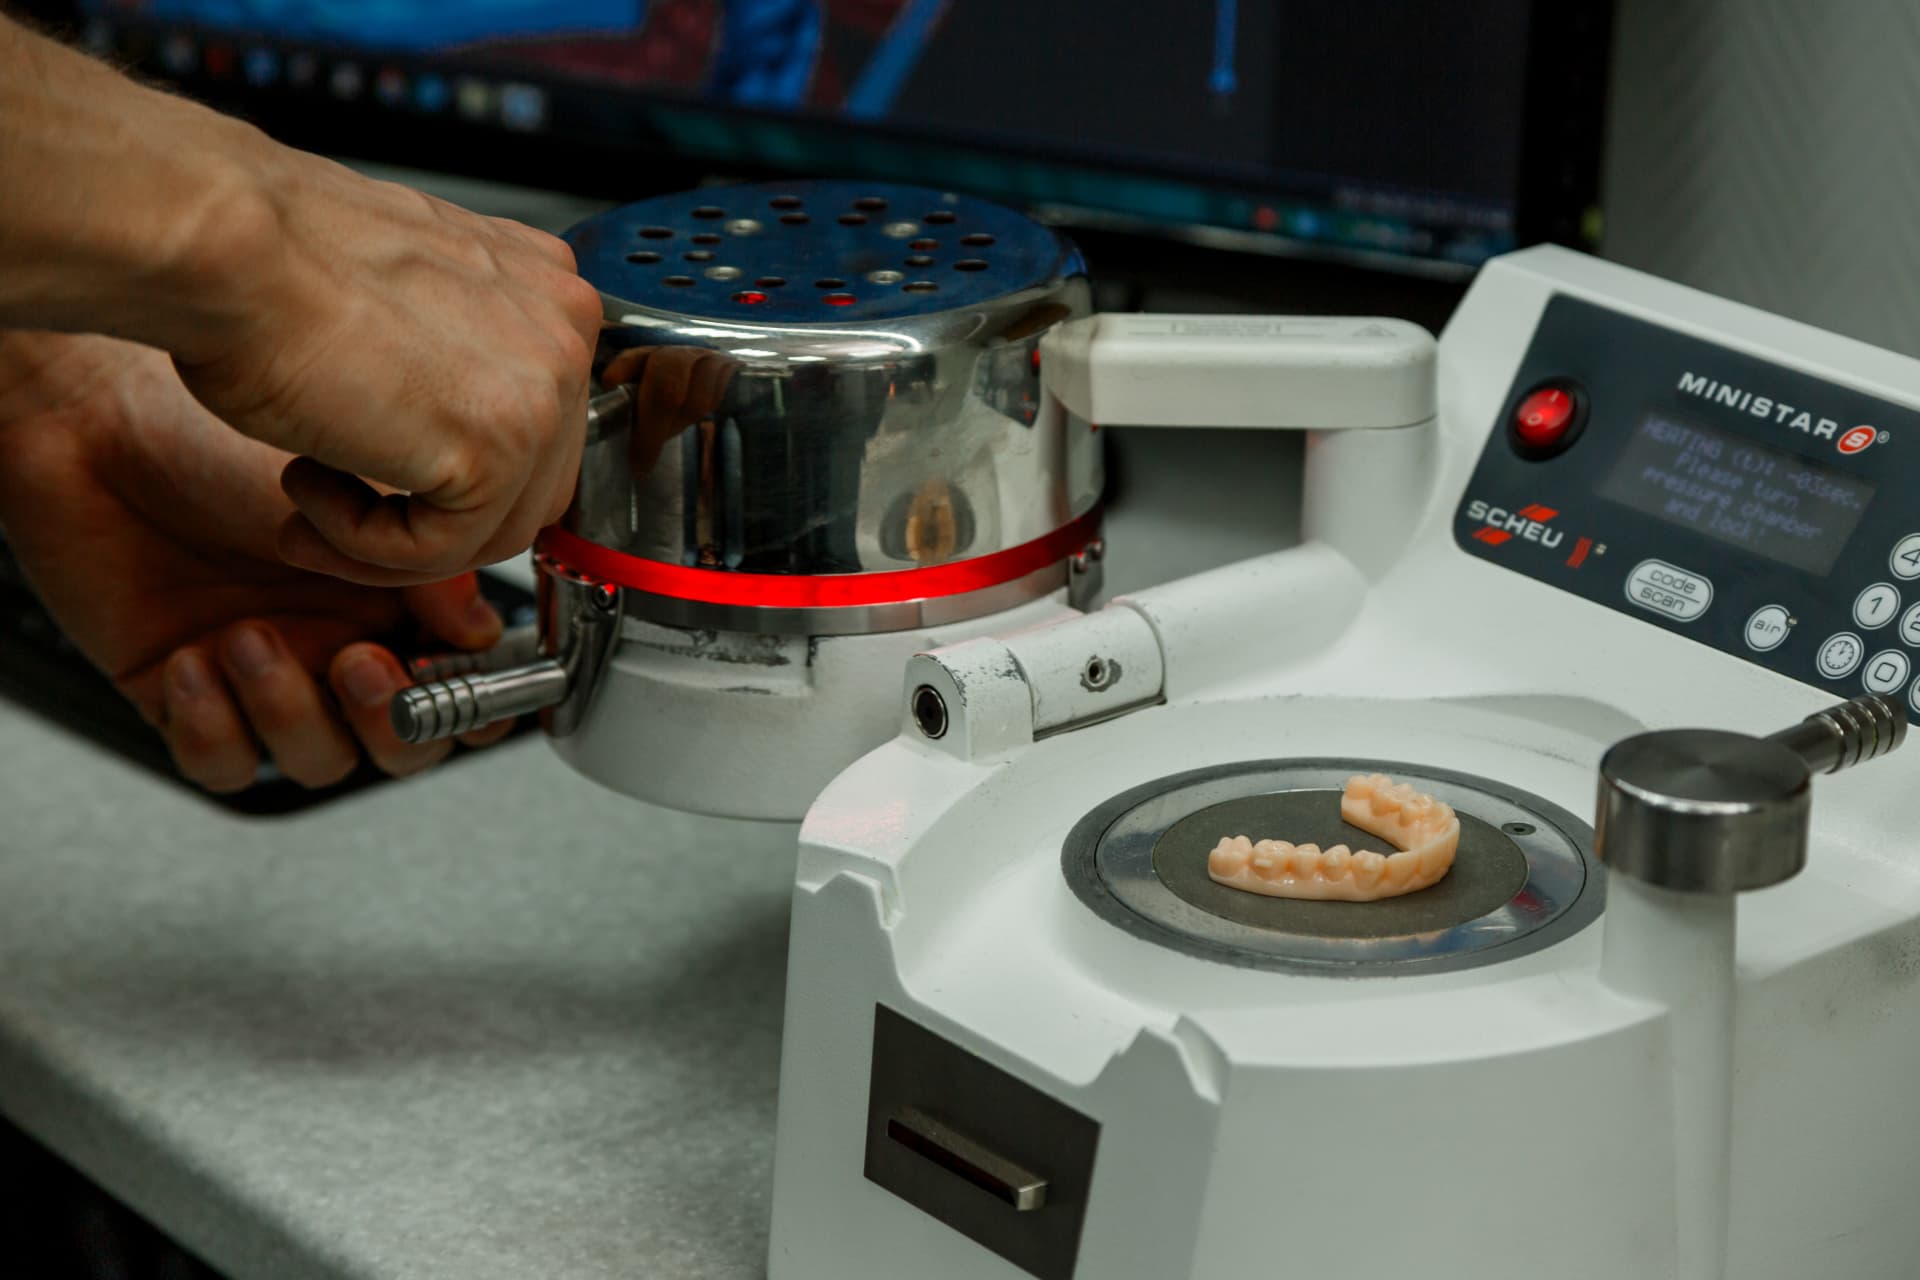
Pressure-forming machines (pressure thermoformers) are recommended for aligner fabrication.

Minimum forming pressure

4 bar

Not recommended:

  • vacuum forming machines

Erkopress

pressure former

Scheu Ministar / Biostar

pressure former

Other pressure-forming machines

from 4 bar

Thermoforming
Ministar S in operation

Stage 06

Aligner thermoforming materials

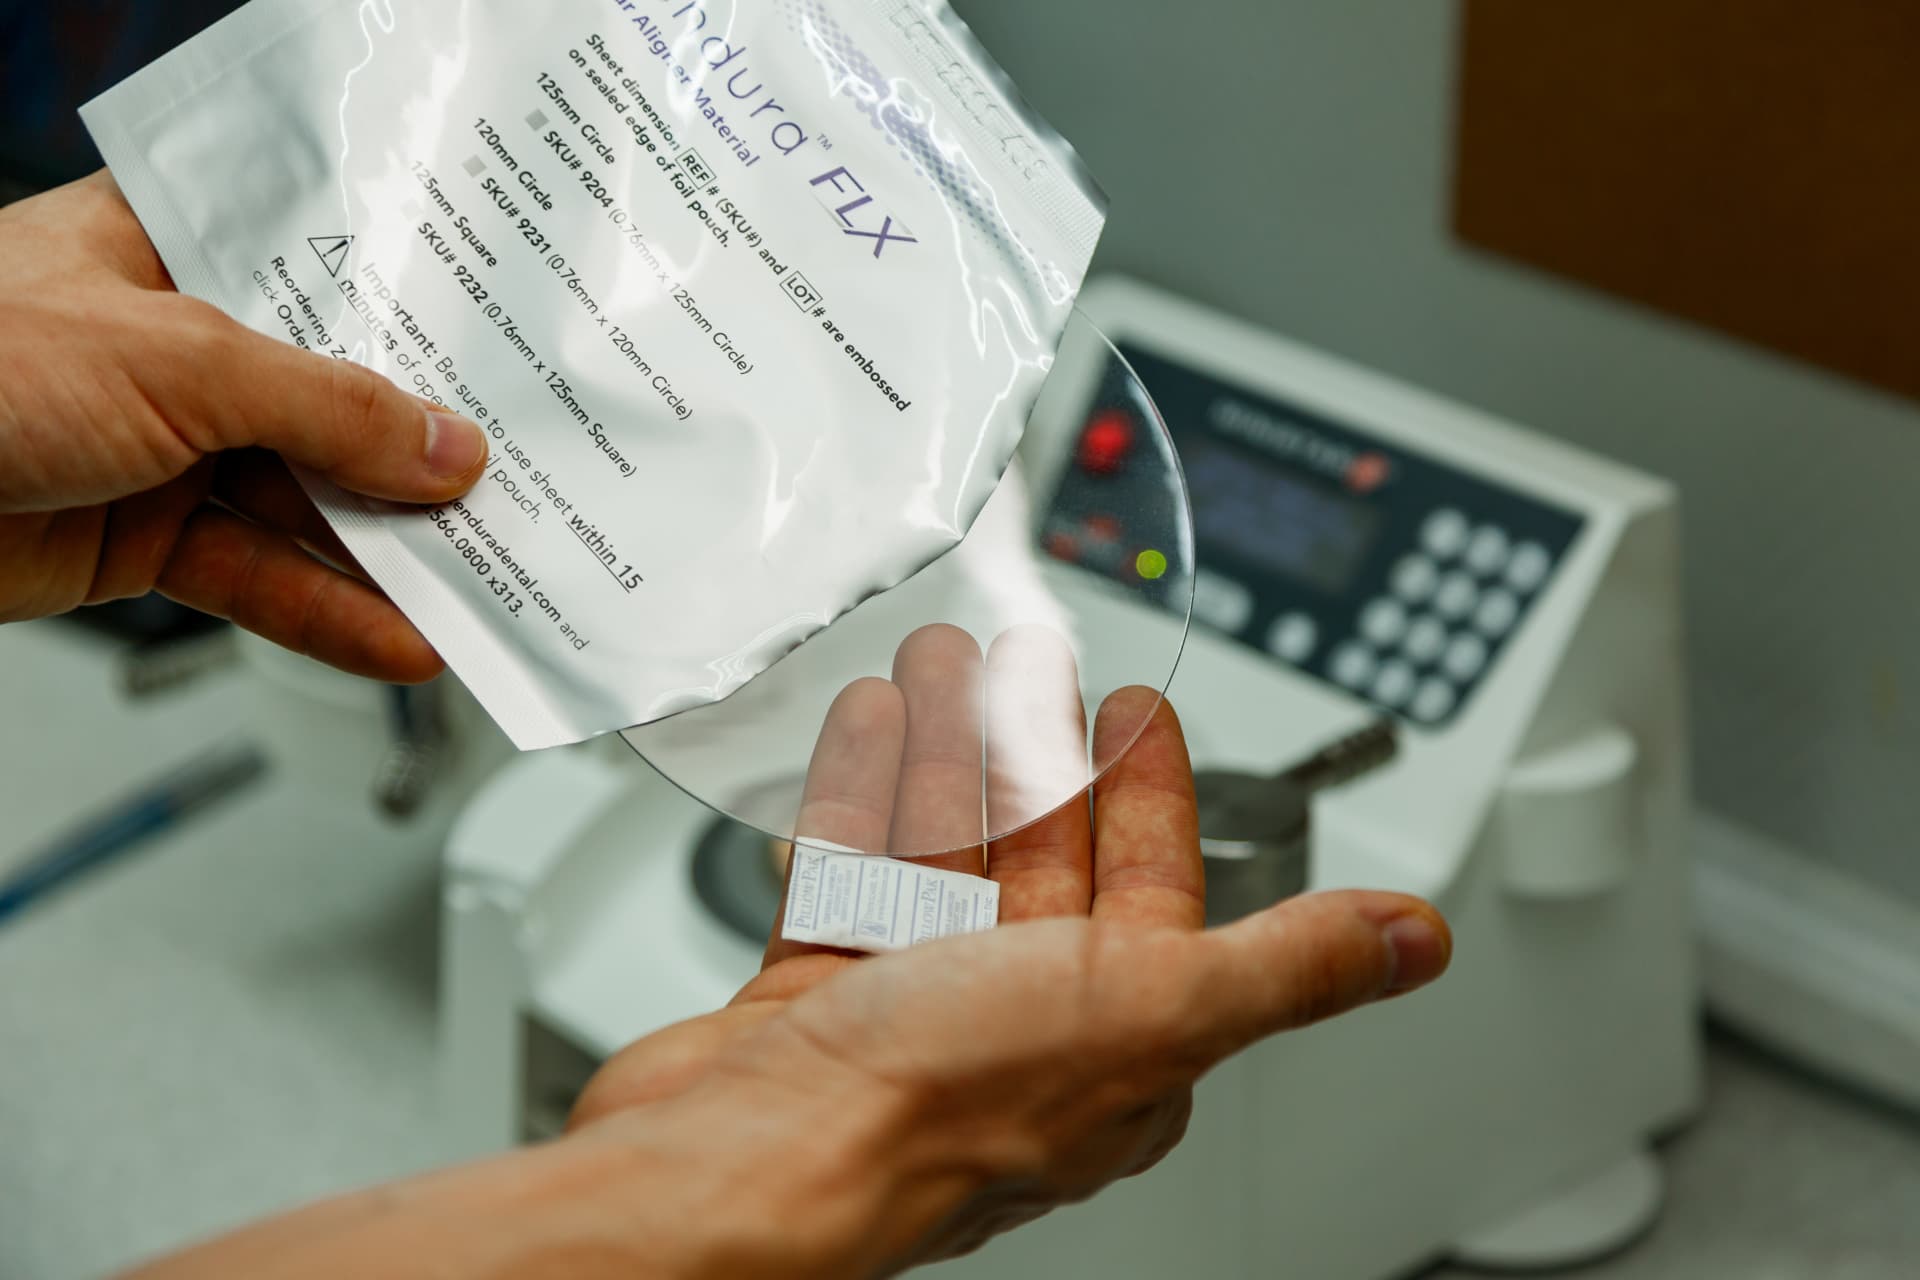
Use single-layer or multilayer (three-layer) sheets of polyethylene terephthalate glycol, polyurethane or other materials specifically indicated for clear aligner fabrication.

Aligners

0.75–0.8 mm

Attachment (bonding) templates

0.5 mm

Retainers

1.0 mm

Zendura A

Zendura FLX

Leone

Biolon

MaxFlex

Aligner thermoforming materials
Thermoforming sheet (blank) for aligners

Stage 07

Separating medium

Apply a thin separating medium to the model before thermoforming — vegetable oil, for example.

Purpose:

  • easier release of the formed aligner
  • protection of the model surface
Separating medium
Sunflower oil used as a separating medium

Stage 08

Trimming the aligner after thermoforming

The trimming technique used in our laboratory relies on three instruments: surgical scissors, a Renfert 1030 scalpel handle (No. 15 blade) and a Renfert dental laboratory spatula. Trimmed this way, the aligner requires no further polishing — the gingival margins come out perfectly smooth.

Trimming the aligner after thermoforming

The trimming technique used in our laboratory relies on three instruments: surgical scissors, a Renfert 1030 scalpel handle (No. 15 blade) and a Renfert dental laboratory spatula. Trimmed this way, the aligner requires no further polishing — the gingival margins come out perfectly smooth.

Stage 09

Additional features

Elastic cut-outs (buttons/hooks) and pontic simulation for missing teeth are added after trimming.

Elastic cut-outs

Positioning and forming the cut-outs for intraoral elastics.

Esthetic pontic in an aligner

Esthetics and tray stability in an edentulous space.

Stage 10

Quality control

Every aligner undergoes quality control before packaging.

  • Inspect each tray for cracks, deformation, surface irregularities and sharp margins
  • Disinfect and hygienically process the aligners before bagging them
  • Verify that the labels are correctly marked (patient, arch, stage number)
  • Confirm that attachment bonding templates have been fabricated where prescribed and that all auxiliary items are prepared (see below)

Production process walkthrough

The full in-house aligner fabrication cycle — from printed arch models to final quality control.

Stage 11

Packaging and labelling

The minimum set of consumables required to assemble and label a complete aligner series.

Zip-lock bags

10.2 × 12.7 cm

Label printer

Dymo LabelWriter 550

Labels / tapes

89 × 36 mm

Aligner storage case

For delivery to the patient

Intraoral elastics

1/8 and 3/16 inch

Chewies (seating rolls)

Full seating of the trays

Cleaning tablets

Aligner hygiene and disinfection

Aligner removal hook

Atraumatic removal of the trays

Stage 12

Patient instructions

Issue the patient a written aligner wear-and-care instruction sheet together with the first set of trays.

Aligner wear and care instructions:

  1. 1Wear the aligners 22 hours per day. Remove them only for meals and oral hygiene procedures.
  2. 2Maintain aligner hygiene: rinse the trays under running water before insertion and clean them twice daily with a toothbrush and mild soap solution.
  3. 3Do not advance to the next aligner while the current one is not fully seated. If a new aligner has not seated after 1–2 days, return to the previous stage.
  4. 4If an aligner fractures, try the next one in the series. If it seats fully, continue treatment as normal.
  5. 5Use chewies: bite on the silicone seating roll when inserting a new aligner to achieve complete seating.
  6. 6If intraoral elastics have been prescribed, wear them full-time with the aligners. Change them every 12 hours and remove them for meals; replace a torn elastic immediately.
  7. 7Contact the treating clinician if an aligner fractures or is lost, an attachment debonds, or the gingiva becomes irritated or traumatised.

Stage 13

Treatment monitoring

What to do when an aligner stops seating fully (tracking loss)

  • Do not advance to the next trays — this only aggravates the tracking loss and brings a refinement forward.
  • Check whether the prescribed interproximal reduction (IPR) has been performed, and complete it if required.
  • Confirm patient compliance with tray wear and with elastics, if prescribed.
  • Step back to the last aligner that seated fully.
  • Consider thermoforming aligners from 0.5 mm sheets on the model of the stage where tracking was lost; wearing these thinner trays for 3–5 days often re-establishes fit.

The patient should be reviewed in the chair every 3–4 aligners, with a set of progress photographs taken at each visit.

Photographic records:

  • frontal intraoral view
  • frontal view with aligners seated (mouth slightly open)
  • right buccal view
  • left buccal view
  • maxillary occlusal view
  • mandibular occlusal view

Purpose:

  • monitoring aligner fit and tracking
  • monitoring tooth movement against the plan
  • timely correction of the treatment
  • verifying that IPR and other clinical prescriptions have been carried out

Need clinical support with a case ordered from us?

We welcome interim intraoral photographs, scans and clinical notes for each case, so that we can provide timely, high-quality support. Upload the records through your client portal on our website, or send them to us by any other convenient channel.

New digital setups and refinements can also be ordered through the client portal.

Client portal